We tried the water level sensor today and using a RGB to indicate different water level, let us show you how to do this.
How does water level sensor work

When we use the water level sensor, we need to connect to 5V, GND and Signal to the Arduino board. It contains ten copper strips in the sensor area that are actually connected to the 5V and signal, they interlace to each others. When we immerse the sensor into water (or solution), it induces conductivity, i.e. current. The more the sensor immerse into the water, the higher conductivity will be resulted. It gives a higher signal back to the analog input in the Arduino board or what board you are using.
Measurement and calibration
Since the water level senor will give the signal in an analog number, but not the actual water level. We need to correlate the analog number to the water level. For example, when we immerse the water sensor into 20mm of the water it will give a signal of 600. So, we wrote a function to measure the analog number for each water level we need.
void calibration(){
  int i;

  digitalWrite(2,HIGH);

  for (i=0;i<=4;i++){
    Serial.print("put your sensor in the '");
    Serial.print(i);
    Serial.print("' mark");
    delay(2000);
    water_mark[i] = analogRead(A2);
    Serial.print(" ");
    Serial.println(water_mark[i]);

  }

  Serial.println("Calibration Complete");
  delay(3000);
}
We created a function – calibration() to record the analog number for each different water levels, we defined an array water_mark[] to record them. We needed to record 4 different levels, using a for loop to read the levels one by one from analogRead(A2) as we connected the water level sensor to analog input pin – A2. We also used the Serial.print to communicate with the user so that the user knows where he has to put the water level sensor in order for the program to read the water level accurately.
void RGB_water_sensor(int vol){
  digitalWrite(12,HIGH);

  if (vol < water_mark[1]){
    analogWrite(Red,255);
    analogWrite(Blue,255);
    analogWrite(Green,255);
  }
  if (vol >= water_mark[1] && vol < water_mark[2]){
    analogWrite(Red,0);
    analogWrite(Blue,0);
    analogWrite(Green,0);
  }
  if (vol >= water_mark[2] && vol < water_mark[3]){
    analogWrite(Red,255);
    analogWrite(Blue,255);
    analogWrite(Green,0);
  }
  if (vol >= water_mark[3] && vol < water_mark[4]){
    analogWrite(Red,255);
    analogWrite(Blue,0);
    analogWrite(Green,255);
  }
    if (vol >= water_mark[4]){
    analogWrite(Red,0);
    analogWrite(Blue,255);
    analogWrite(Green,255);
  }
}
Then, we used the information from the calibration() function to define which water level we use to make the RGB light change. When we call this function – RGB_water_sensor(int vol), we need to provide the existing water level value. It will put into variable vol and compare with different water_mark[] we captured in the calibration() function. If vol (the existing water level) below the water_mark[1], it will be no display. If vol between water_mark[1] and water_mark[2], the color is white. It will be green when between water_mark[2] and water_mark[3]. Then, will be blue and red colors for between 3 & 4 and over 4.
See our separated post for how RGB working.
Conductivity of different liquid
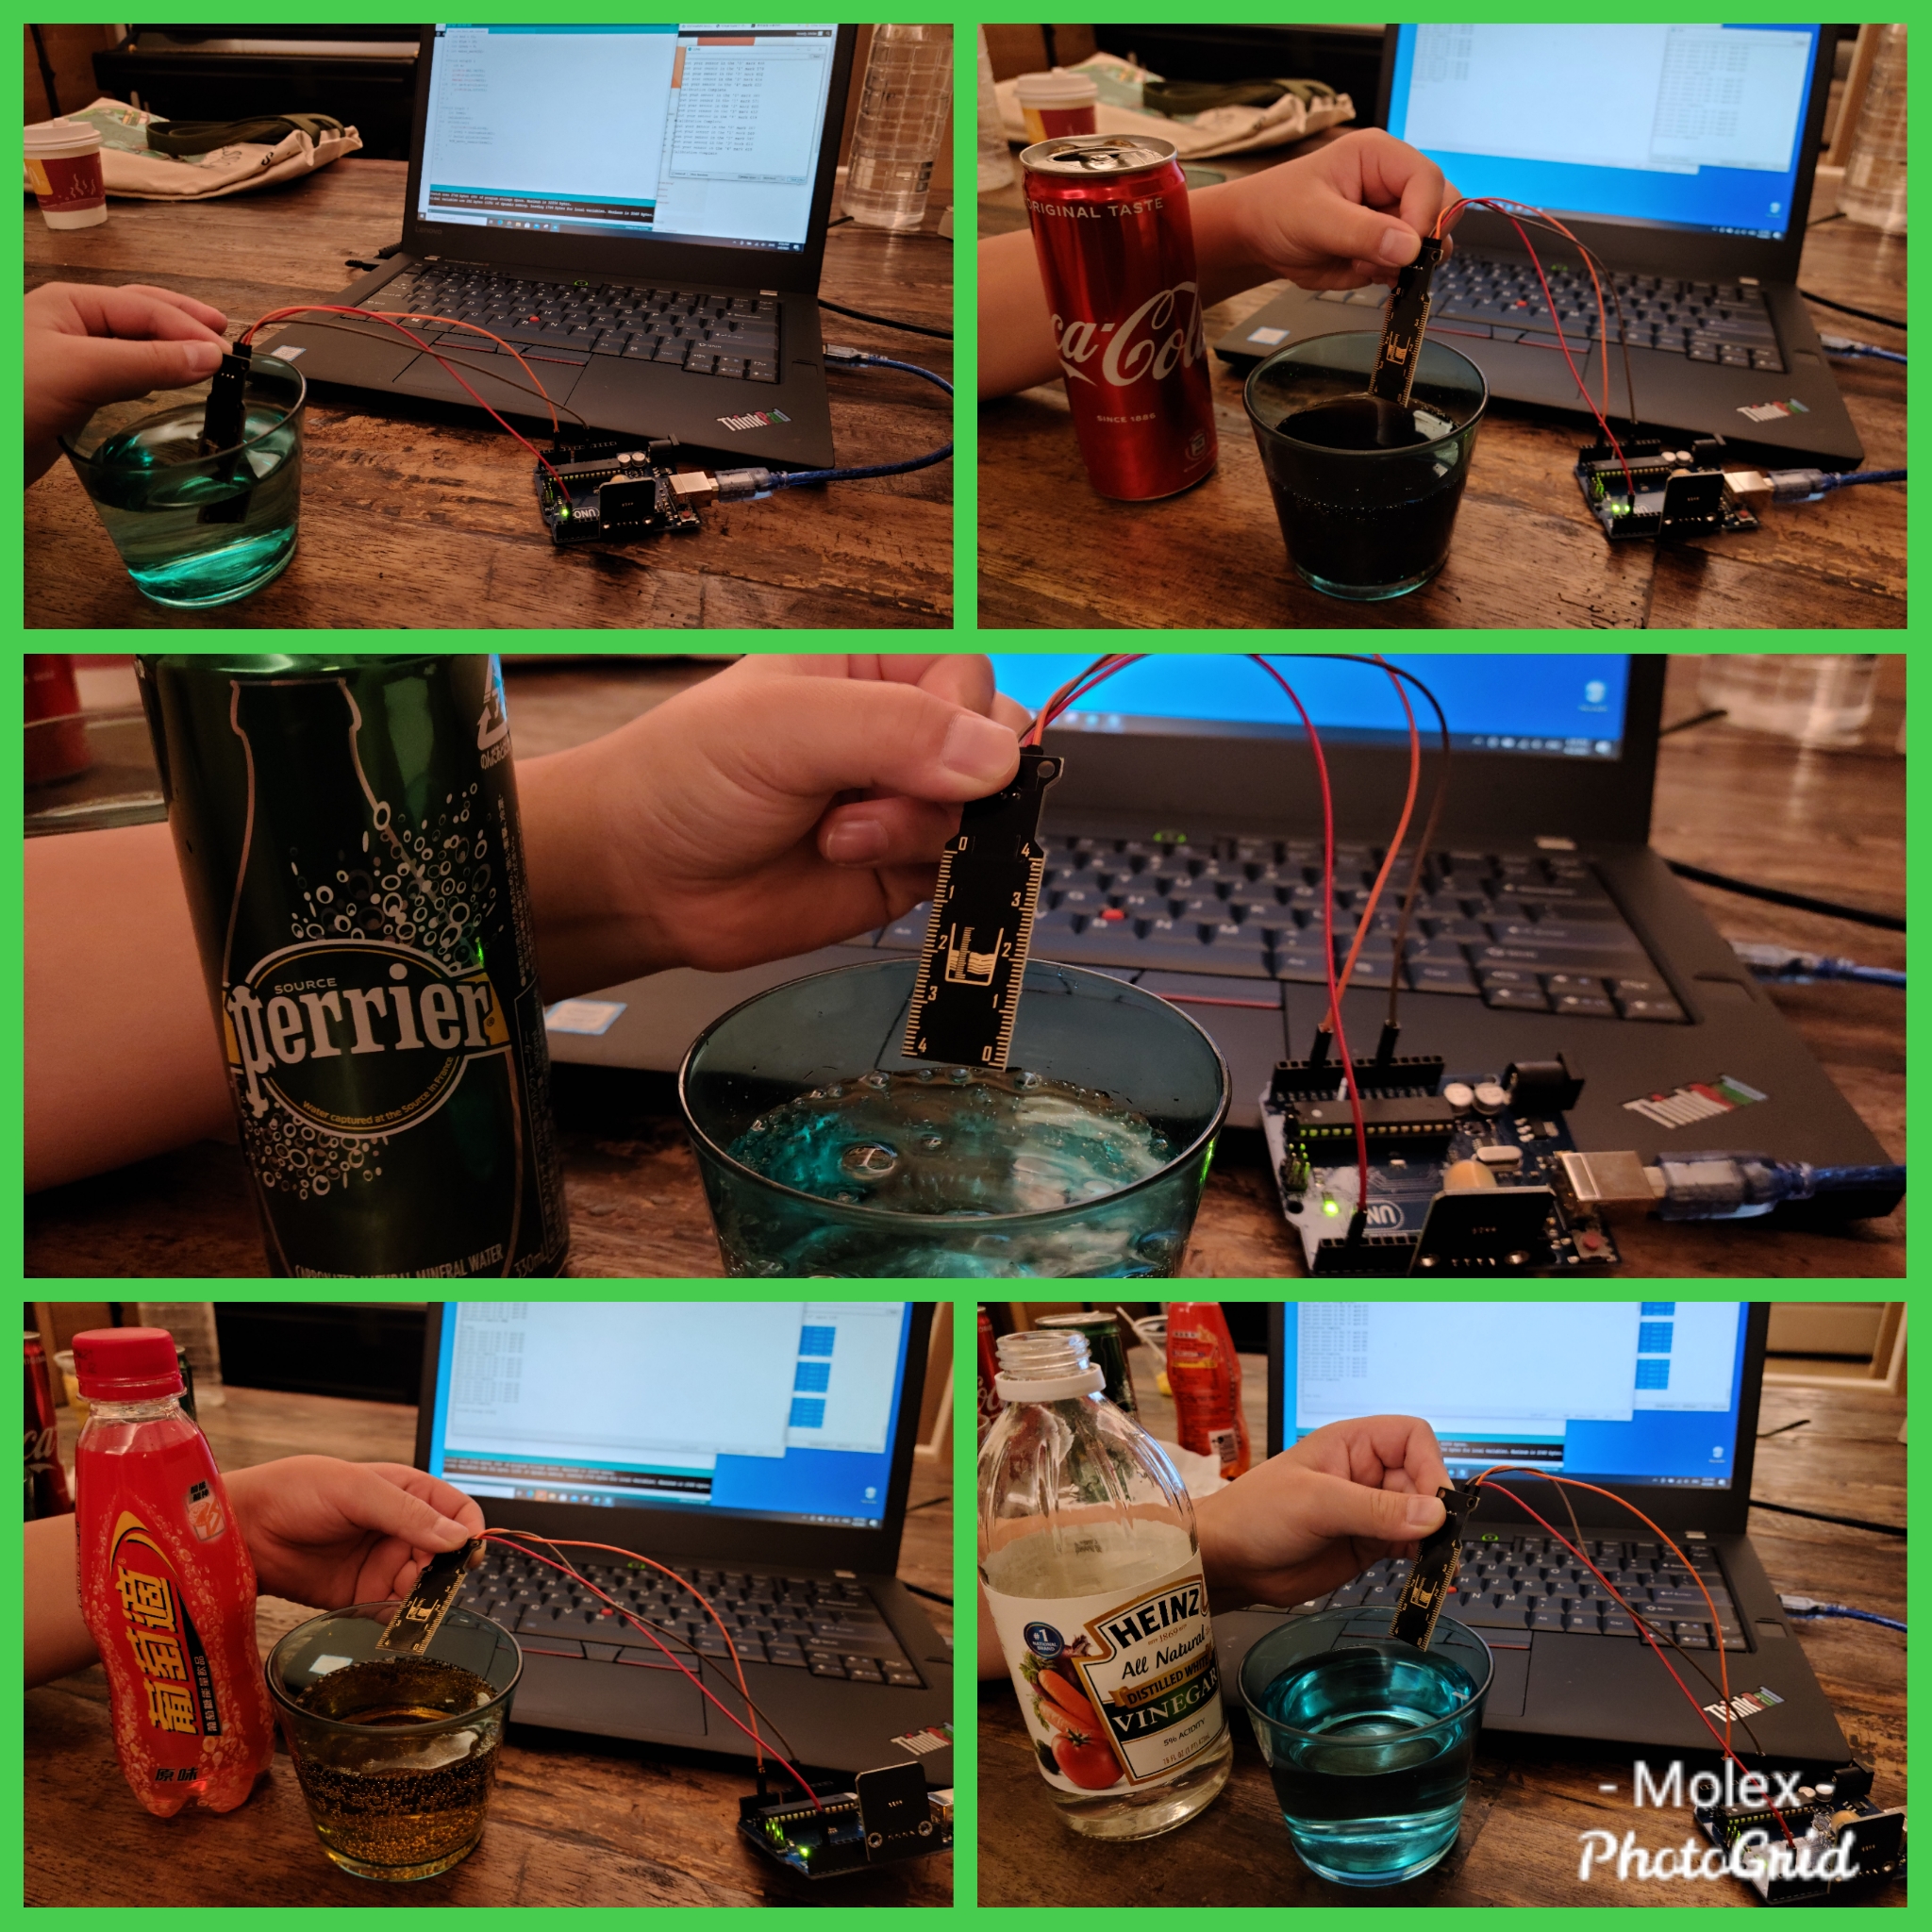
We conducted a small experiment by comparing the measuring value between Water, Coca Cola, Perrier, Energy Drink and Vinegar, took 10 set data of each and compared the average value. Do you know which one get the best conductivity?
| Water | Coke Cola | Perrier | Lucozade | Vinegar | |
| 5mm | 454 | 543 | 467 | 552 | 562 |
| 20mm | 597 | 571 | 532 | 580 | 606 |
| 40mm | 618 | 584 | 551 | 589 | 640 |
| Conductitivity | 2 | 4 | 5 | 3 | 1 |
We thought that Lucozade has the best conductivity because it is ‘energy drink’. However, based on the experiment, the best liquid conductivity level is vinegar, and the Perrier is the worst. It is because vinegar contains acid ions but surprised us that Perrier is the worst, it should contain minerals which help conductivity. Moreover, what we observed is that when we put water in the 5mm mark of the water sensor it is the lowest conductivity out of all the liquid we used.
interesting