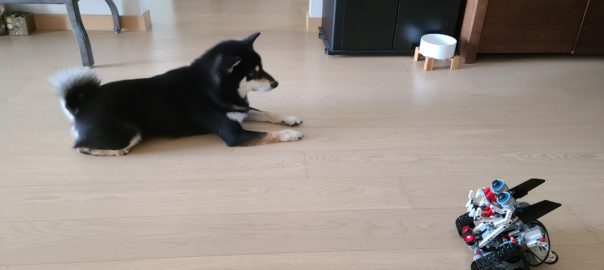
My dad told us that he wanted a RC car with a professional controller like this… that’s one of his childhood dream.
He was so excited with such professional controller we made…. HOWEVER, we built him this ‘car’… LOL

This is a great project to make use of two bricks and the messaging functions, how we connect the remote Controller with the Dog by feeding different data via different ‘mailbox’ is the key.
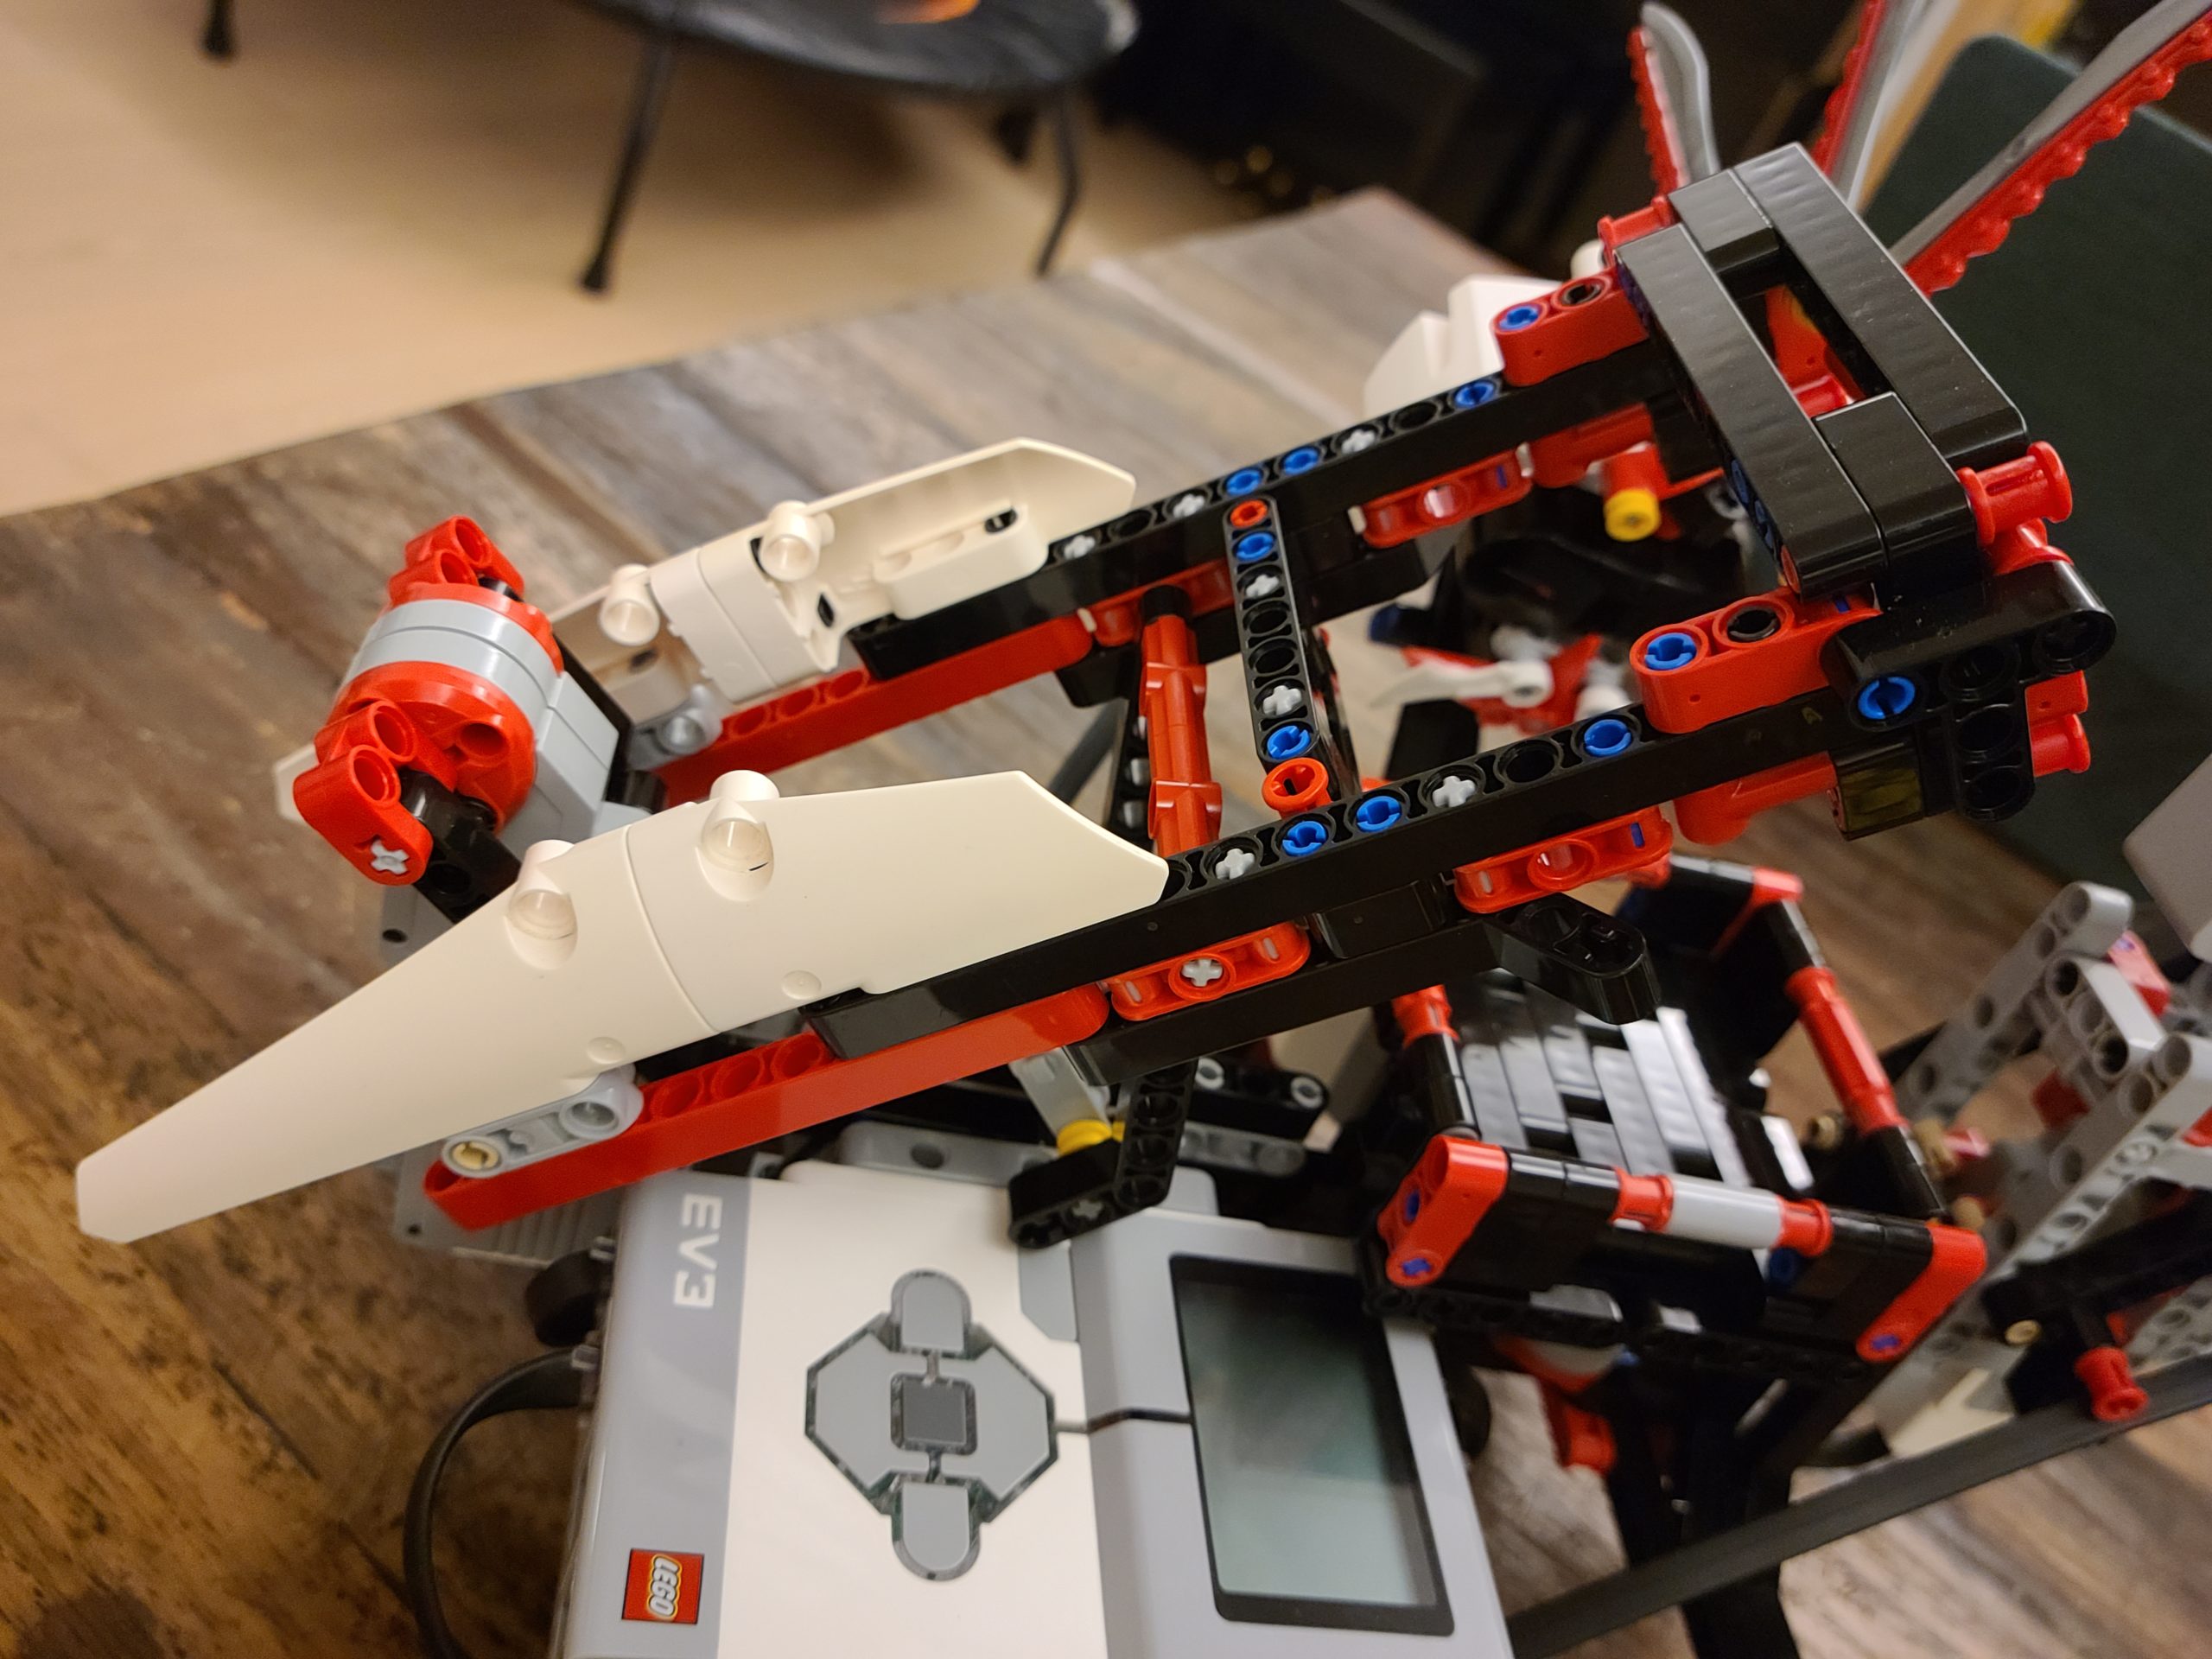
Features of the remote controller
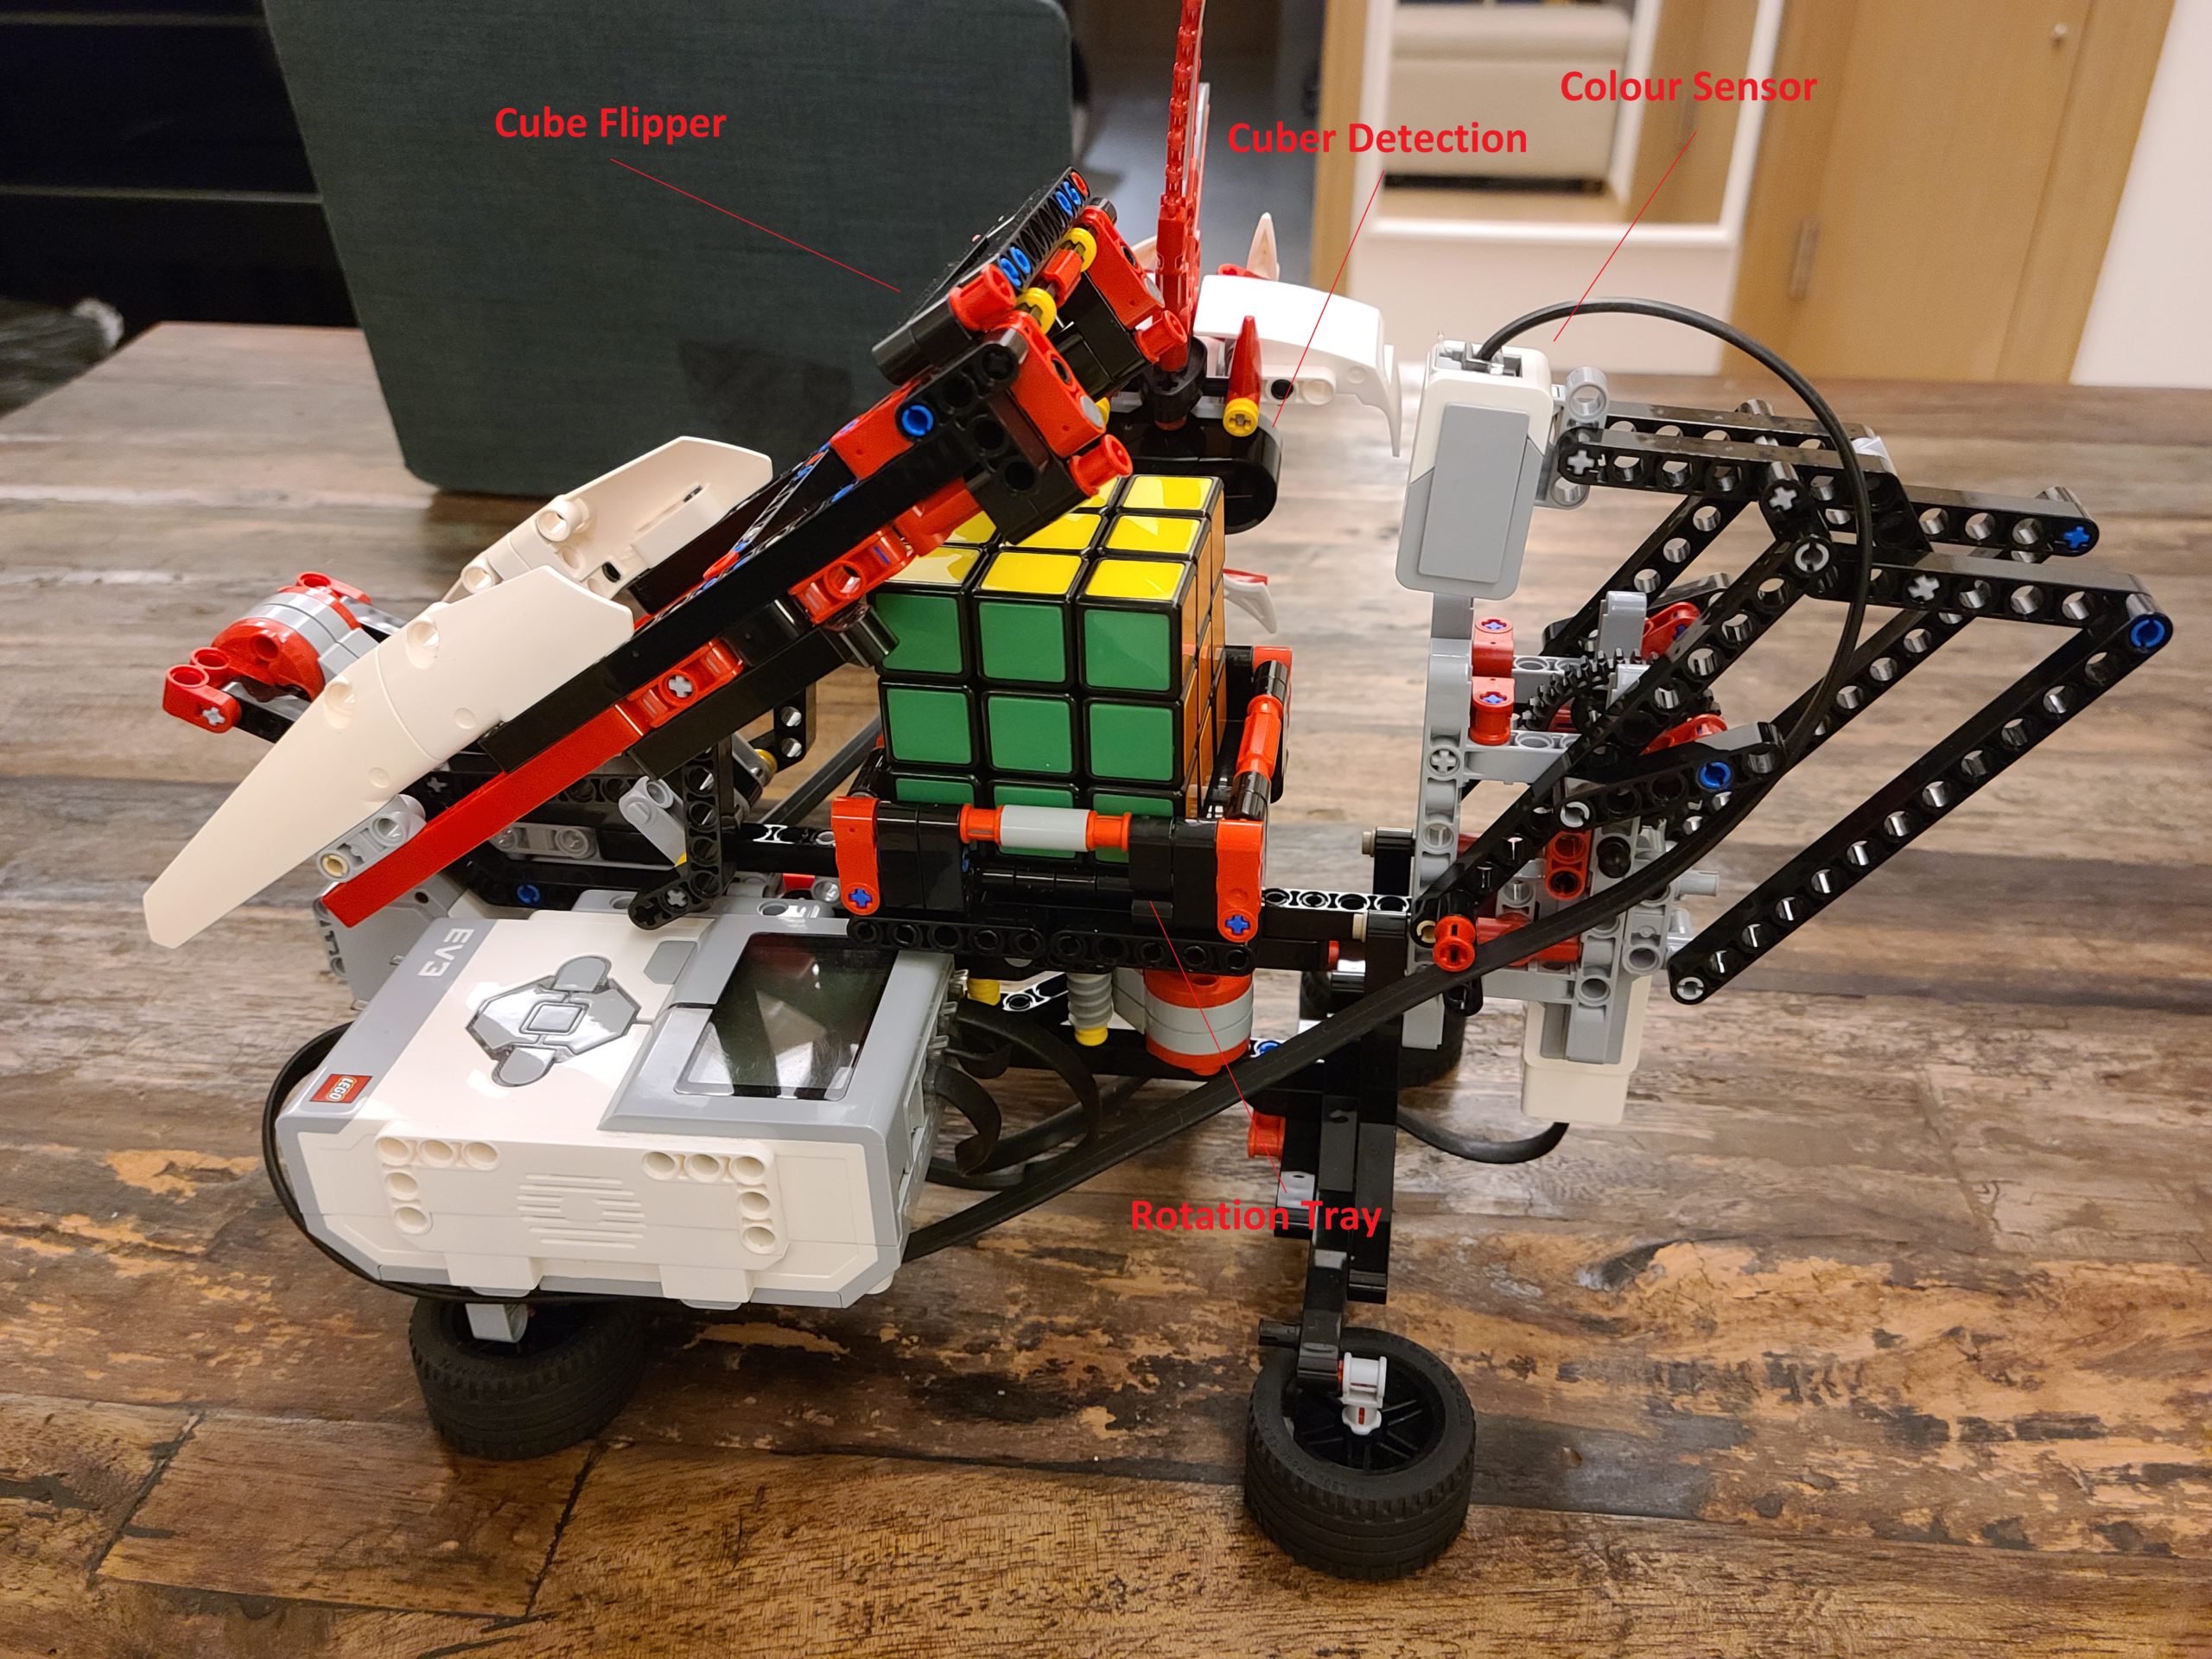
Turning Wheel
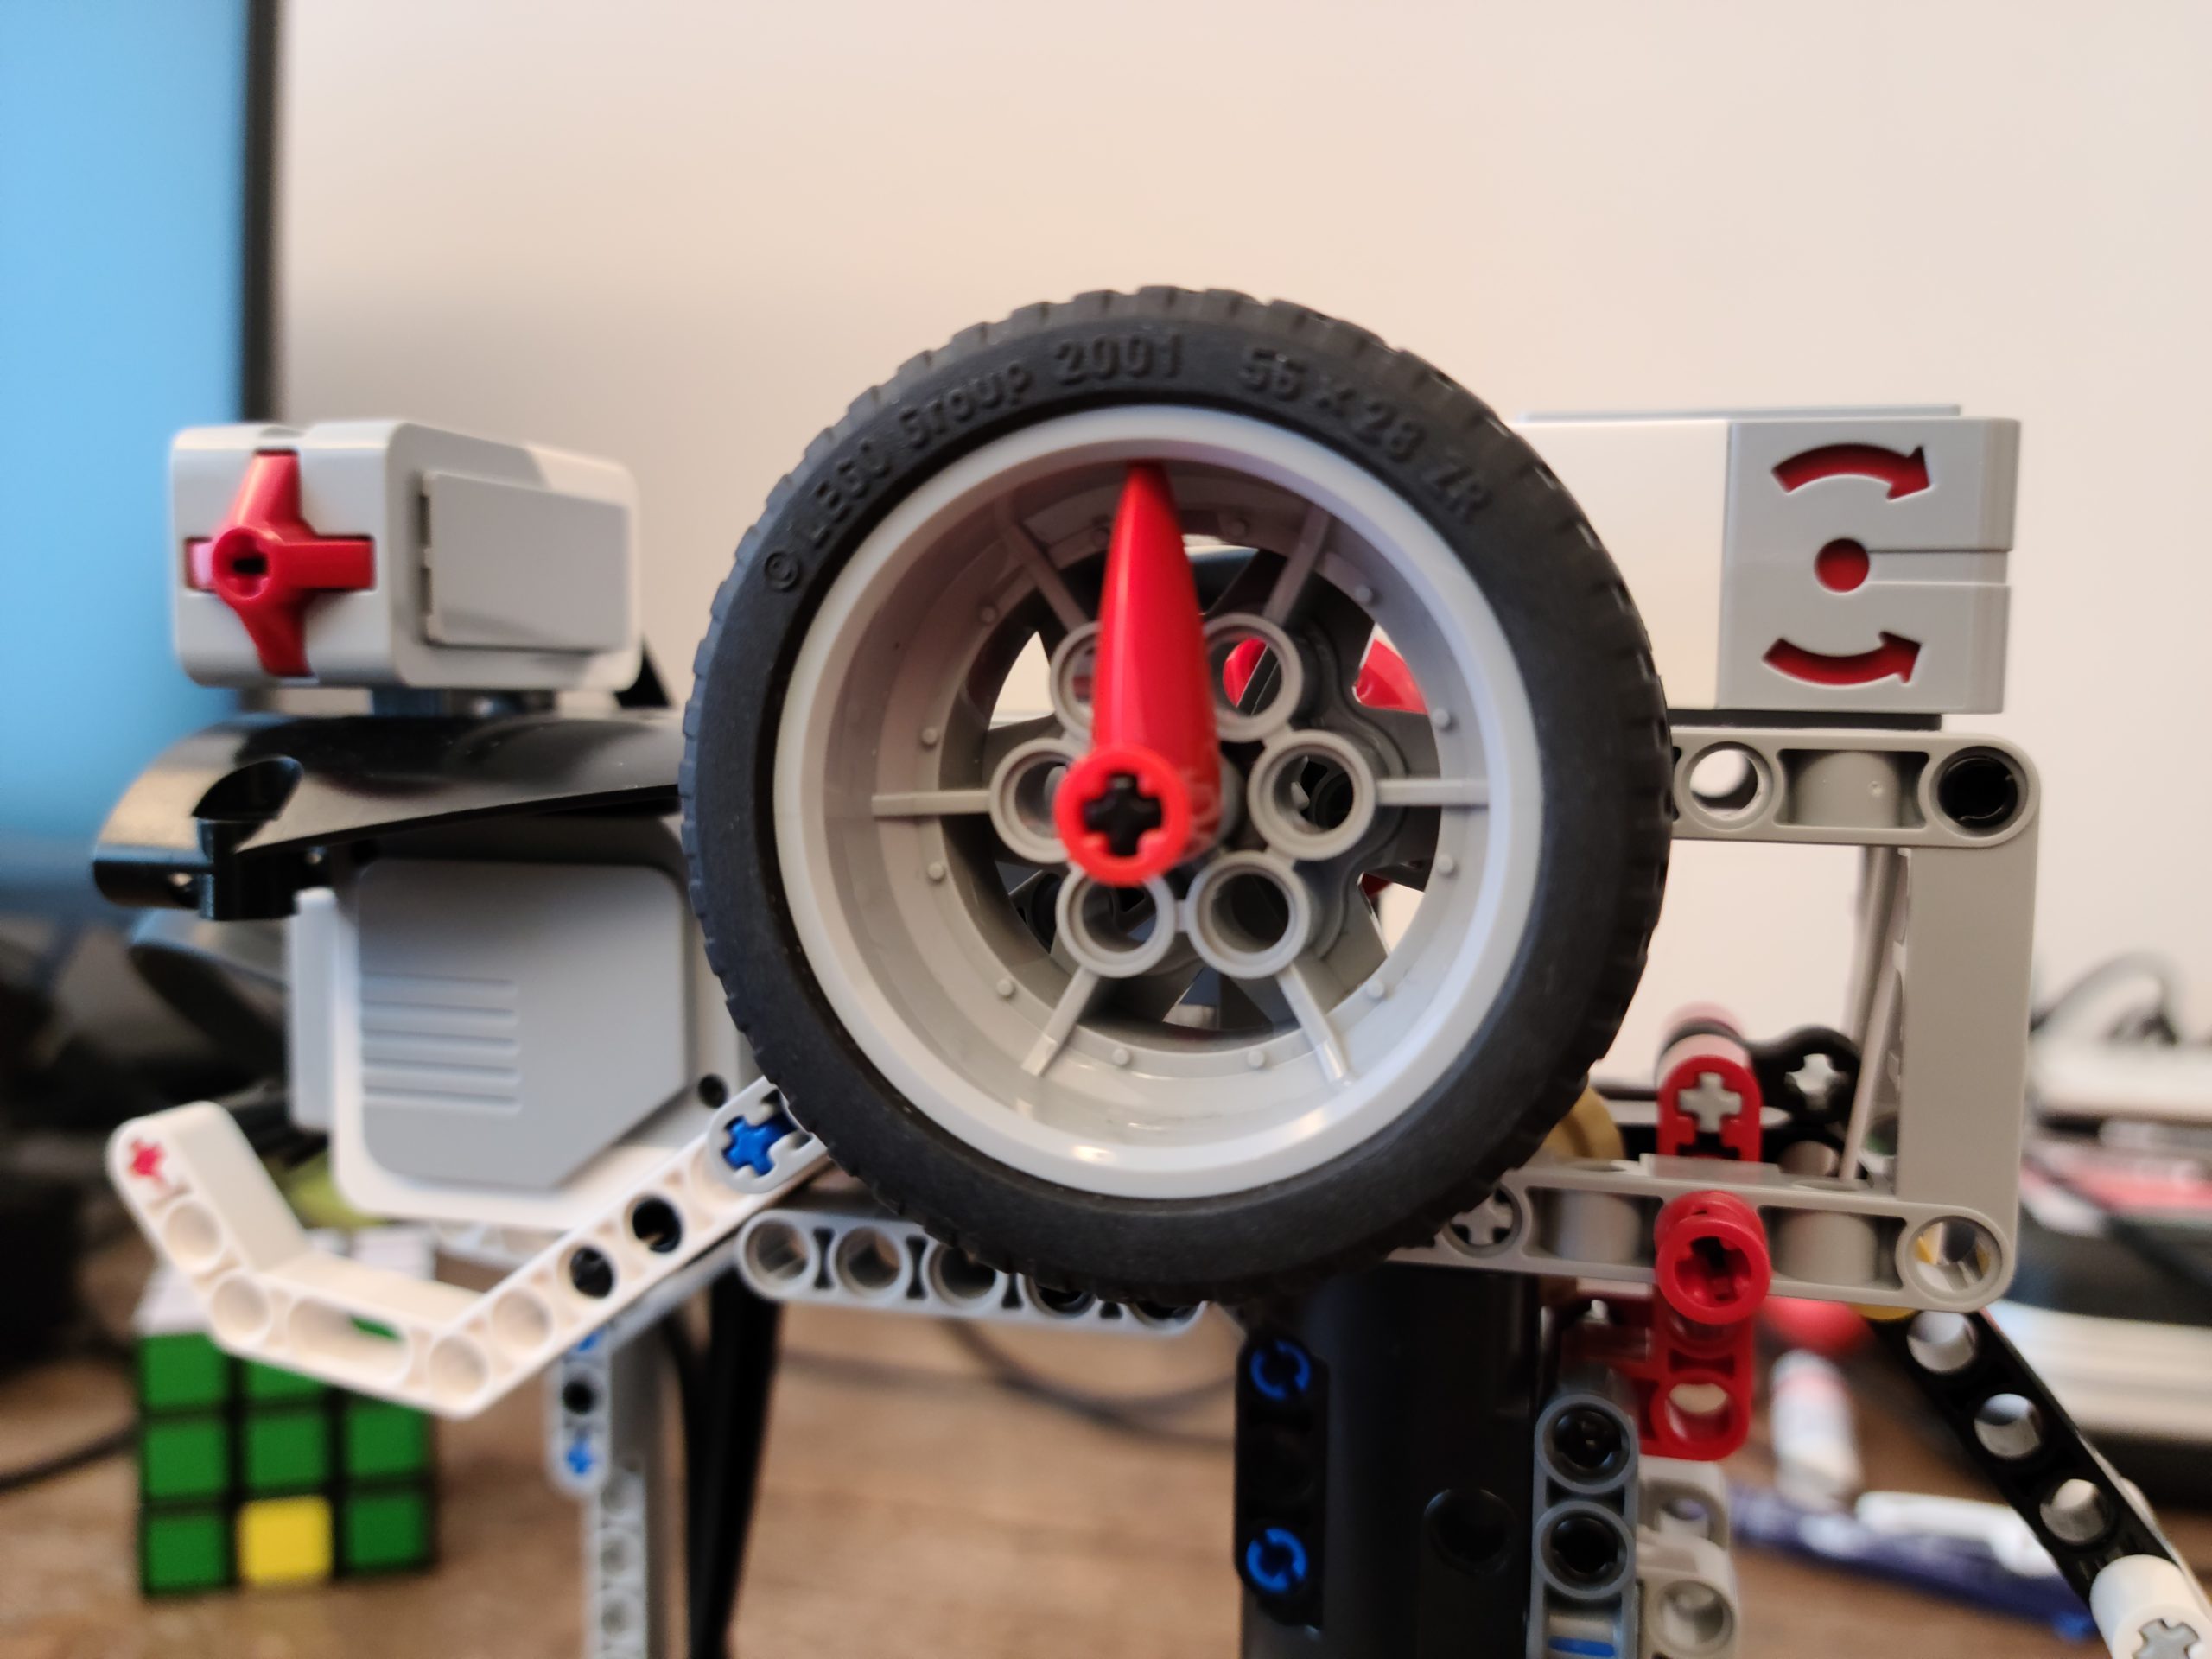
The function of this wheel is to see how many degrees you turn the wheel. The more you turn the wheel, the higher number you get. If you turn it backwards, it will give you a negative number. Thus, positive number is turning right, negative number is turning left.
Direction Sensor
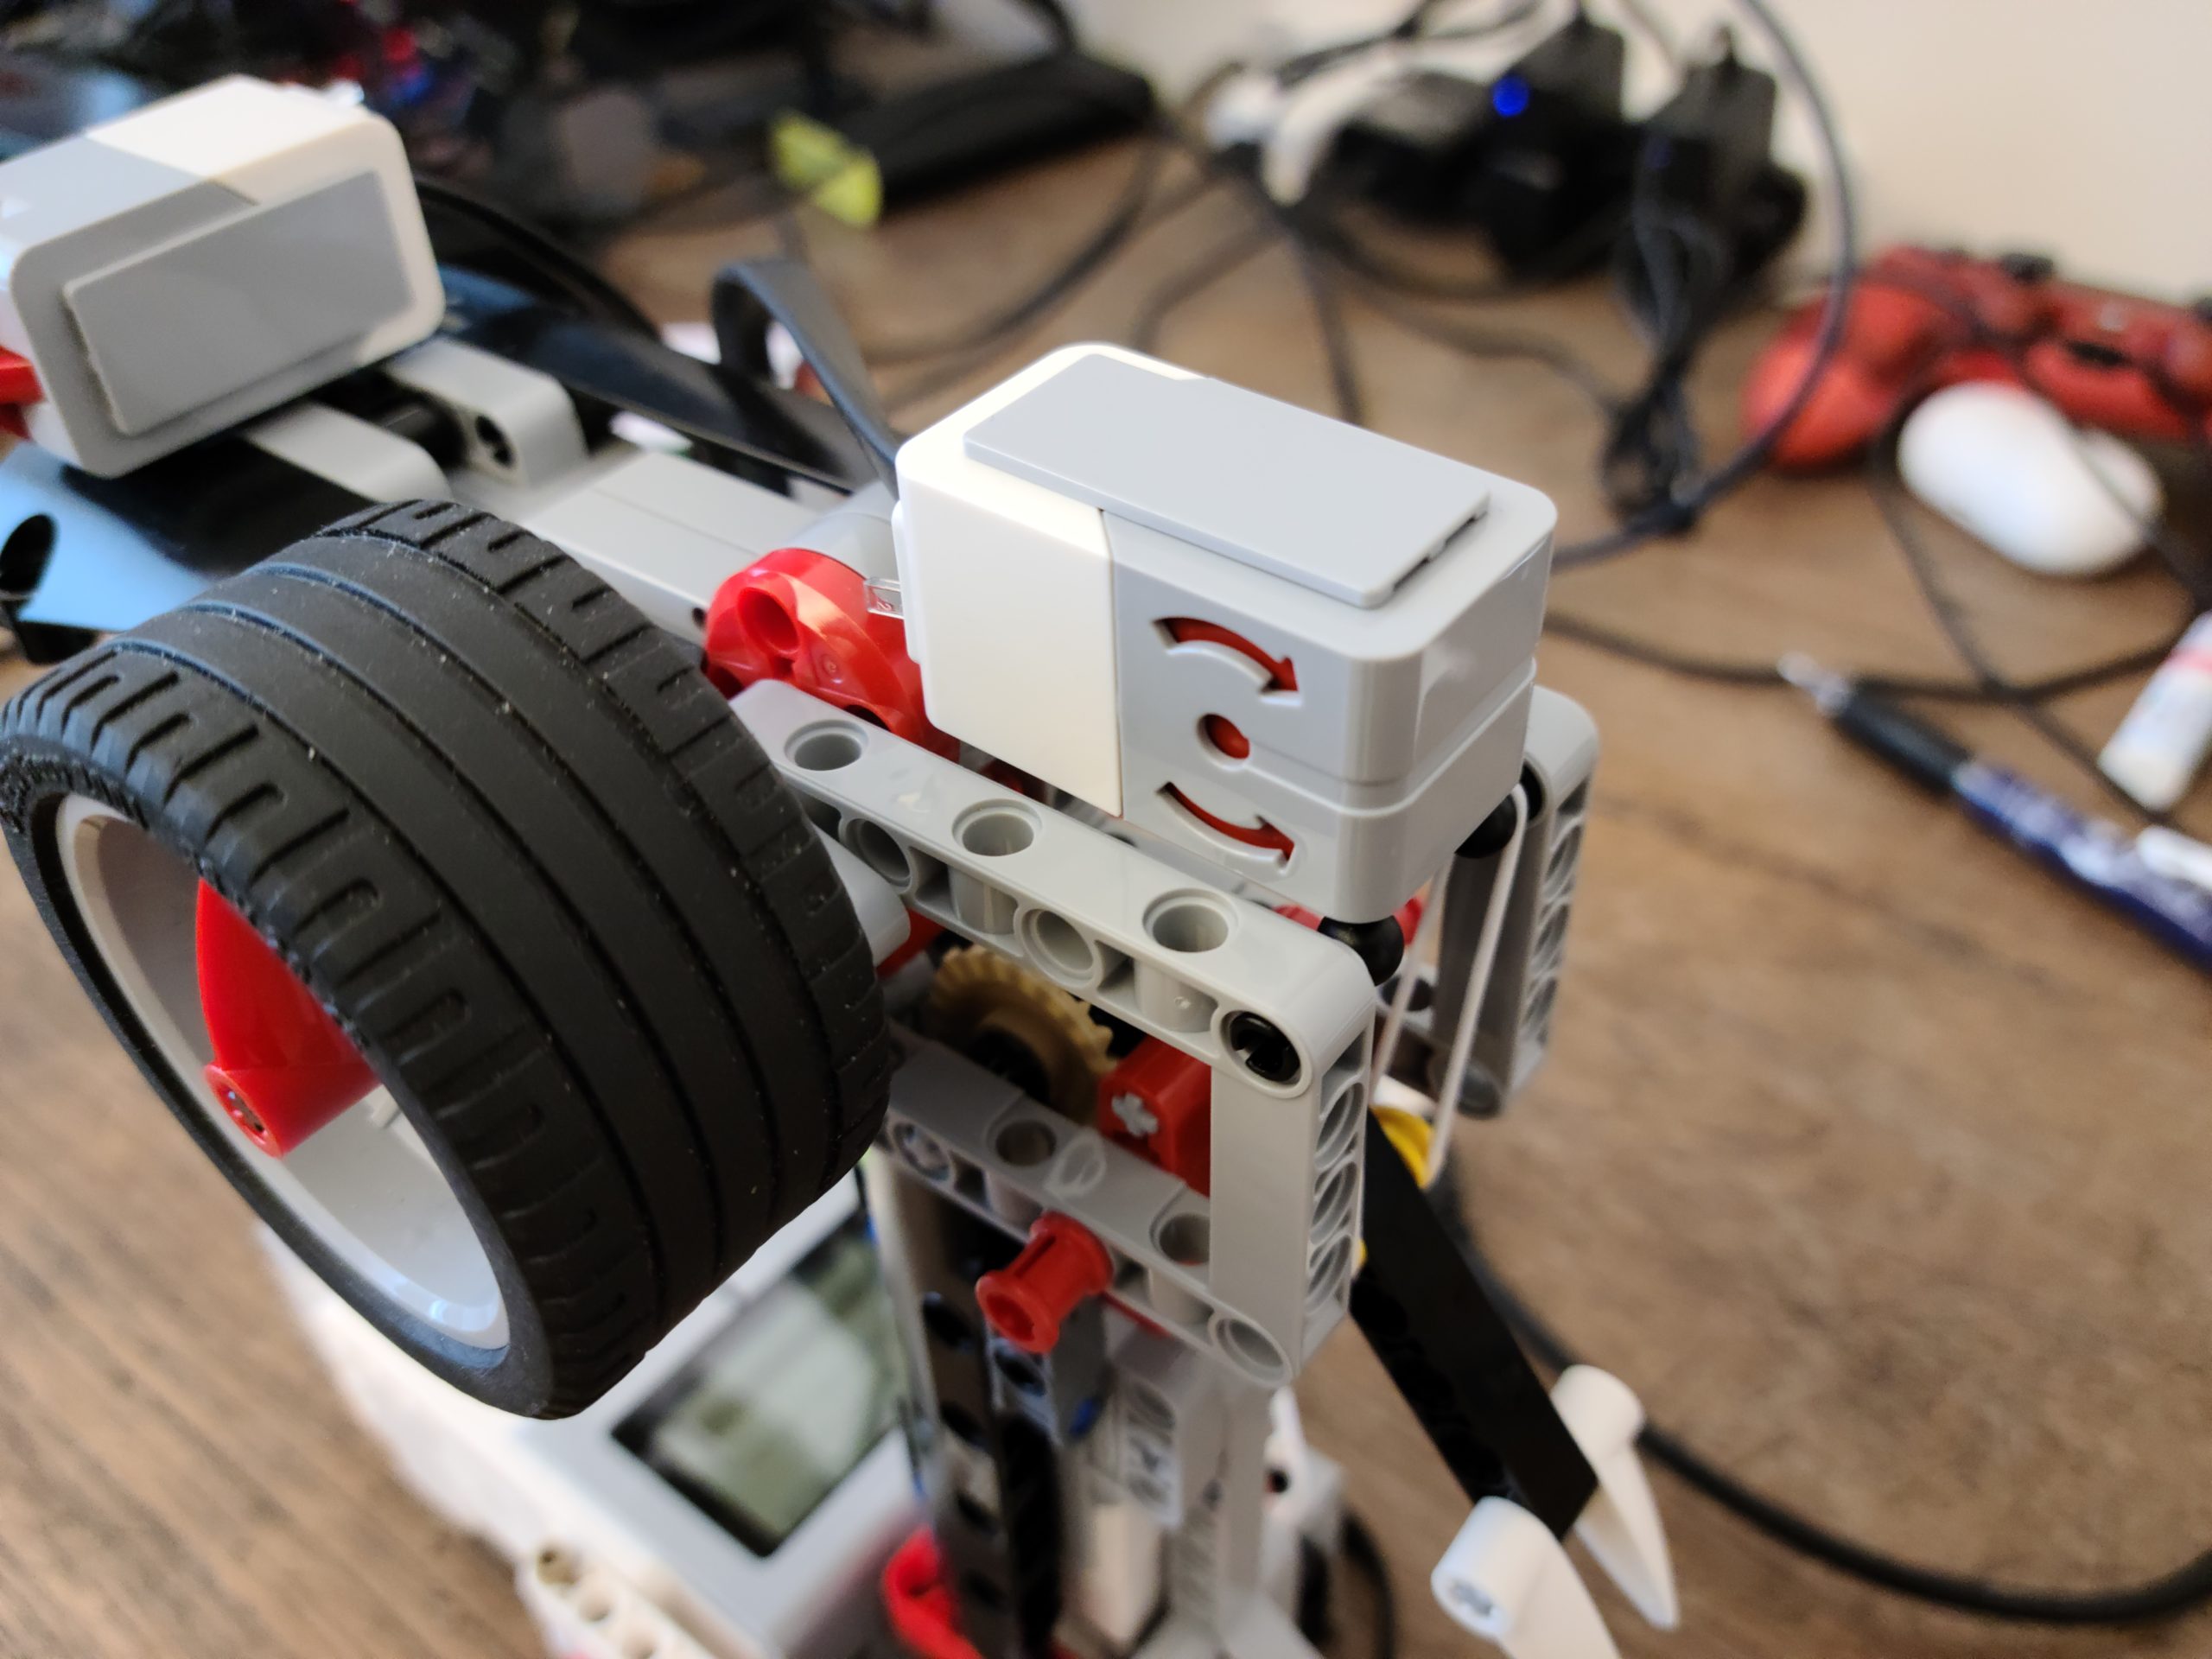
This is the Direction Sensor, this sensor detects how much you have tilted the handle. When you tilt the controller more forward, the higher number the sensor will give. If you tilt the controller backward, it will give you a negative number. Thus, positive number is going front, negative number is going back.
Calibration
The calibration is quite simple. When starts the program of the controller, just need to ensure the turning wheel back to 12’o clock position for easy control. Then, put the controller on a flat table to ensure the controller start from a horizontal position since we will use it’s tilting to control the ‘Dog’ direction.
Once all set, the program will reset the turning wheel angle and the direction sensor back to zero.
How does the program work?
Communication with different mail boxes
The Controller
SERVER = 'ev3dev2'
client = BluetoothMailboxClient()
client.connect(SERVER)

mbox = TextMailbox('Dog', client)
trigger_mbox = NumericMailbox('Trigger', client)
turn_mbox = NumericMailbox('Turn', client)
combo_mbox = LogicMailbox('Combo', client)
speed_mbox = NumericMailbox('Speed', client)
The Dog
server = BluetoothMailboxServer()
server.wait_for_connection()

mbox = TextMailbox('Dog', server)
trigger_mbox = NumericMailbox('Trigger', server)
turn_mbox = NumericMailbox('Turn', server)
combo_mbox = LogicMailbox('Combo', server)
speed_mbox = NumericMailbox('Speed', server)
These two programs connect two EV3 bricks via Bluetooth. We made different mailboxes to separate the communication between two bricks. For example, if we want to send information or message to tell the Dog how’s Turning Wheel result, it will be using mailbox ‘Turn’. So, we can perform very dedicate communication channels between the Controller and the Dog, make it easy way than using just one mailbox.
Messaging Synchronization
The Controller
# Sychronize the mail box between the robot and the remote
# Ensure the robot get new mail from the remote before start
# Once the robot get the new mail, will confirm Ready and OK to start
i = 0
while mbox.read() != 'Ready':
    trigger_mbox.send(i)
    turn_mbox.send(i)
    combo_mbox.send(i)
    speed_mbox.send(i)
    i = not i
combo_mbox.send(False)
mbox.send('OK')
The Dog
# Sychronize the mail box between the robot and the remote
# Ensure the robot get new mail from the remote before start
# Once the robot get the new mail, will confirm Ready and OK to start
trigger_mbox.wait_new()
turn_mbox.wait_new()
combo_mbox.wait_new()
speed_mbox.wait_new()
mbox.send('Ready')
mbox.wait()
Since we cannot ensure two bricks starting at the same time and same speed, we did a synchronization process to confirm two bricks ‘hand shake’ prior to start. We make the Dog mailboxes to read new mails only, it will wait until the Controller sends a new message to every mailboxes. Once new mails received, the Dog confirm ‘Ready’ and the Controller will reply by ‘OK’. Then, start the process.
It’s important. If the Dog runs faster, a ‘NONE’ message will be read because the Controller have not sent any messages yet. ‘NONE’ is not an value to be processed, which will induce an error.
We set ‘combo_mbox.send(False)’ because we don’t know the last message sent from the Controller is ‘1’ or ‘0’. If we don’t add this, it will result as a glitch that the Dog will randomly do Combo at start.
The Controller
while True:
    if mbox.read() == 'OK':

        combo_mbox.send(combo_sensor.pressed())
        turn_mbox.send(turn_sensor.angle())
        speed_mbox.send(speed_sensor.angle())
        trigger_mbox.send(trigger_sensor.angle())
The Dog
while True:
    # Stop the remote sending new data which will induce overflow
    # If wait time too short, it will be always 'Wait' or send
    # duplicate result
    mbox.send('OK')
    wait(30)
    mbox.send('Wait')

    pressed = combo_mbox.read()
    combo(pressed)

    turning = turn_mbox.read()
    speed = speed_mbox.read()
    forward(speed * 12, turning)

    trigger_dog = trigger_mbox.read()
    bite = Dog_bite(trigger_dog, bite)
In the most beginning we setup the program, we had the Controller keep sending the reading to the Dog. However, it would result as errors because too much information fed to the Dog. So, we also added a ‘hand shake’ process to ensure the Controller to send the reading once the Dog is ready.
Direction Control
def forward(speed, turn_angle):

    # When turn sensor between -40 to 40, go straight
    # Turn right in scale between 40 to 140
    # Turn left in scale between -40 to -140
    # Self rotate to right between 140 to 220
    # Self rotate to left between -140 to -220
    # If the user turn over the limit 220 or -220, the robot will stop
    right_speed_alternator = 1
    left_speed_alternator = 1

    if turn_angle < 40 and turn_angle > -40:
        left_speed_alternator = 1
        right_speed_alternator = 1

    elif turn_angle > 40 and turn_angle < 140:
        right_speed_alternator = 1 - (turn_angle - 40)/100*0.8

    elif turn_angle < -40 and turn_angle > -140:
        left_speed_alternator = 1 - (turn_angle + 40)/100*-0.8

    elif turn_angle > 140 and turn_angle < 220:
        right_speed_alternator = -1
        left_speed_alternator = 1

    elif turn_angle < -140 and turn_angle > -220:
        right_speed_alternator = 1
        left_speed_alternator = -1

    elif turn_angle > 220 or turn_angle < -220:
        right_speed_alternator = 0
        left_speed_alternator = 0
        ev3.speaker.beep()

    if speed < 120 and speed > -120 :
        right_wheel.hold()
        left_wheel.hold()
    else:
        right_wheel.run(speed * right_speed_alternator)
        left_wheel.run(speed * left_speed_alternator)
Forward, Backwards & Hold
In this function, we make the robot move according to the gyro sensor angle. How fast the Dog to move is the angle multiply by 12. Thus, the gyro sensor tilts more forward, it moves faster. If it tilts backward, it goes reverse. We made the robot hold when the angle is between -10 to 10 (-120 to 120) .
Turning Direction
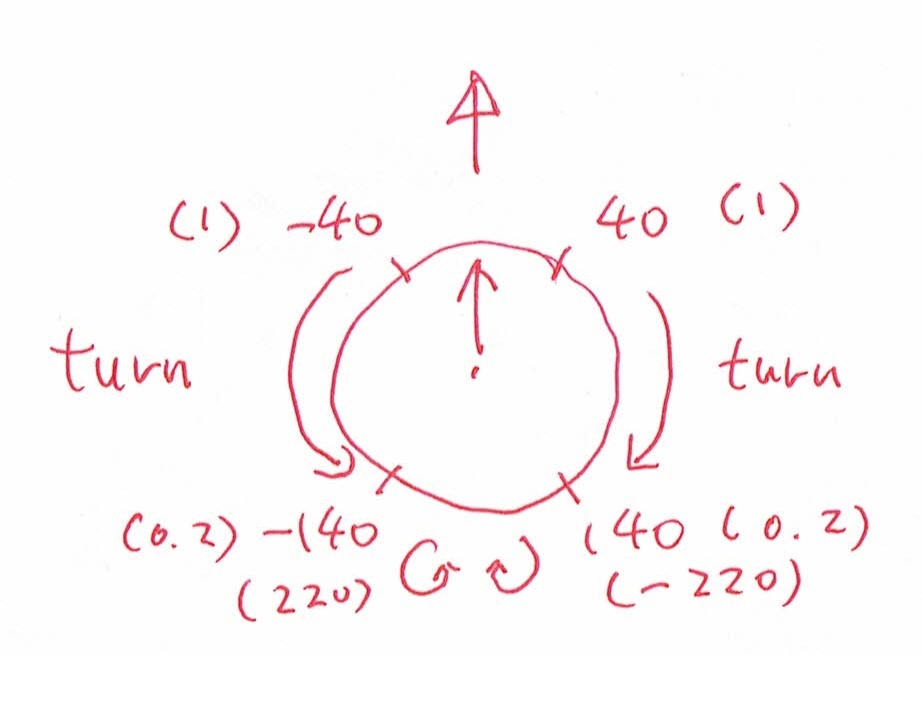
See above picture, we want the Dog to turn when we rotate the Turning Wheel from the Controller. It will start turning right when Turning Wheel is sitting between 40deg to 140deg or turning left between -40deg to -140deg. We used a formula to calculate how fast we want the robot to turn, the right wheel formula is “right_speed_alternator = 1 – (turn_angle – 40)/100*0.8” and the left wheel formula is “left_speed_alternator = 1 – (turn_angle + 40)/100*-0.8”. So, the more you rotate the Turning Wheel, the bigger of the speed alternator will be resulted. The Dog will turn because we alternate the Dog’s wheels in different speed.
If you turn the wheel over 180 degrees (or -180 degrees), the Dog will stop and beep.
Bite Control
def Dog_bite(angry, bited):
    if angry > 40 and bited == 0:
        forward(0,0)
        ev3.speaker.play_file(SoundFile.DOG_BARK_2)
        head_control.run(1000)
        return 1
    elif angry < 40 and angry > 15 and bited == 0:
        forward(0,0)
        ev3.speaker.play_file(SoundFile.DOG_GROWL)
        return bited
    elif angry < 15 and bited == 1:
        head_control.run(-1000)
        wait(500)
        head_control.run(0)
        return 0
    elif angry > 40 and bited == 1:
        forward(0,0)
        return bited
    else:
        return bited
This function we made the biting part of the dog. If the Controller trigger is held, it will bite. It will growl when the trigger is on the half-way. When we release the trigger, the dog will return to it’s normal form.
Since we don’t want the Dog keep moving when growl or bite. We setup a variable call ‘bited’ to ensure that the Dog will keep in bite position without any movement. Once we release the trigger, the Dog will move again.
Build instruction and the program
We created the program from scratch without referring any example, you can download from below.
Official Build Instruction from LEGO
What’s next?
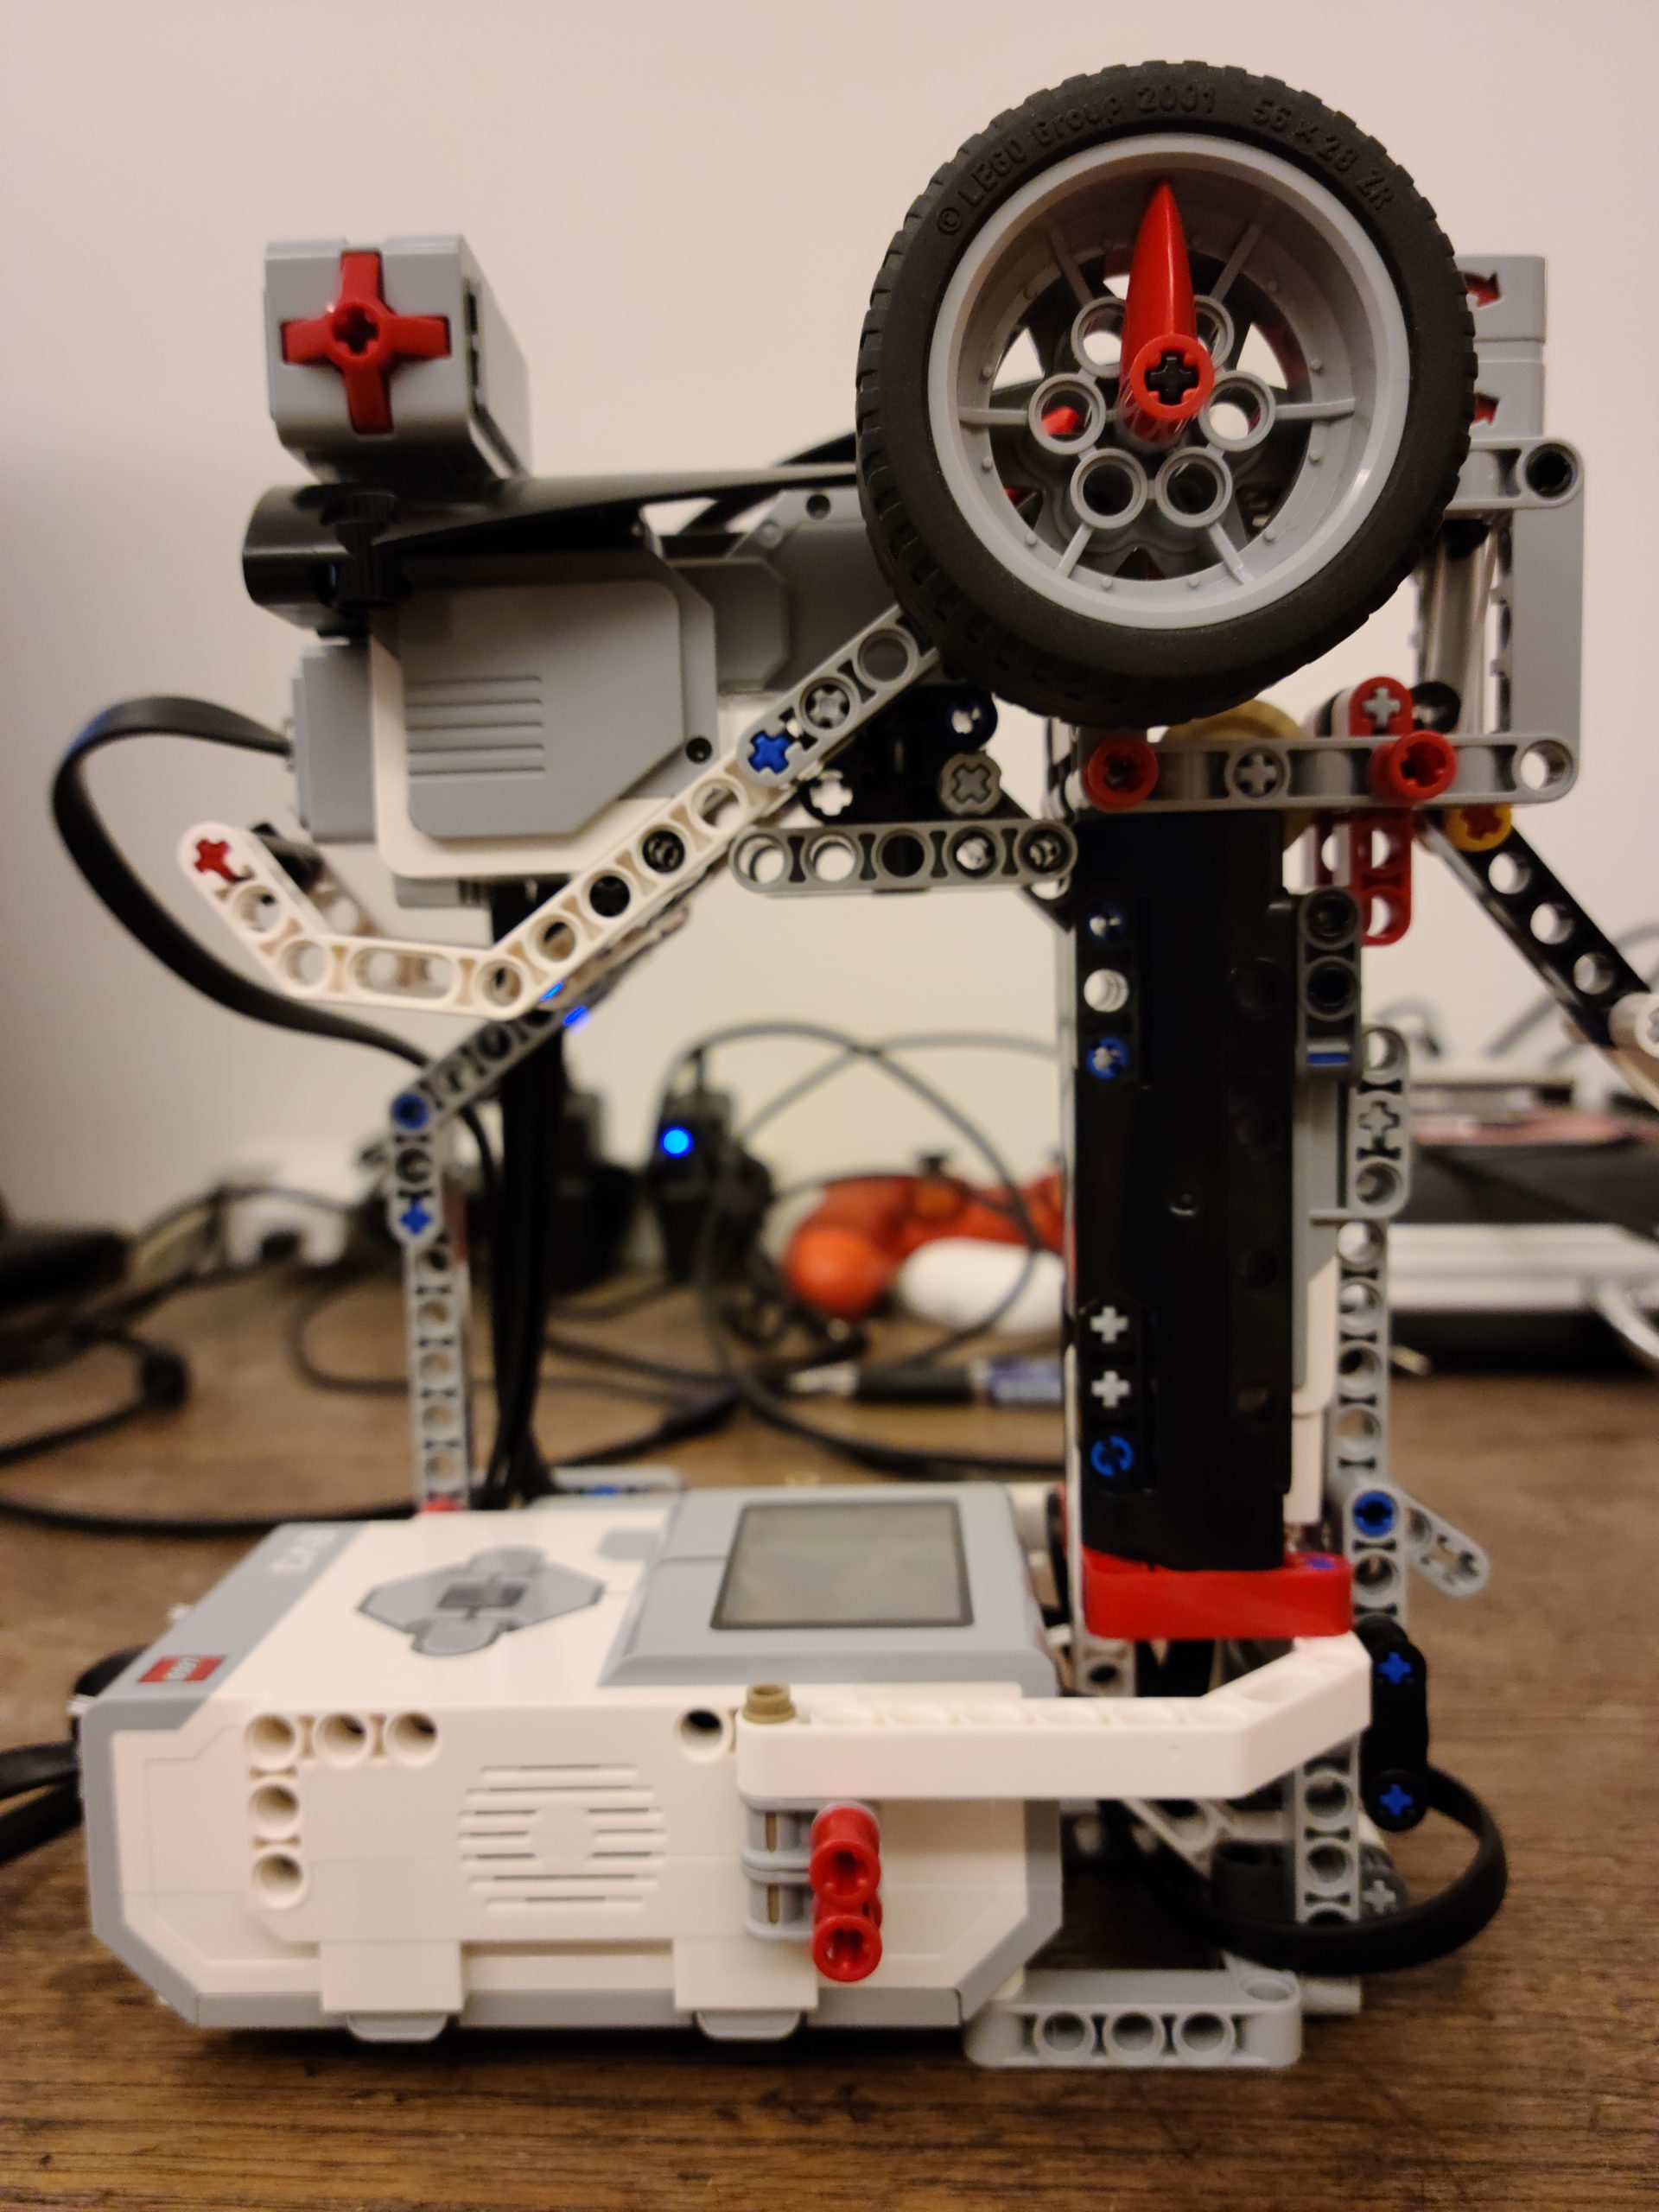
Make the dog becoming self-navigation, it already a ultrasonic sensor in its’ front and we have not used this
Using a PS4 controller instead of the LEGO controller
Voice control with Alexa?